
The long-term success of a waterfowl impoundment is ultimately determined by its hydrology and the manager’s ability to precisely manipulate that hydrology. The power to dictate when, how quickly, and to what exact depth the water rises and falls is the most critical factor in producing abundant food and attracting waterfowl.
Most importantly, this level of control isn’t accidental; it’s the direct result of a well-engineered drainage system and a carefully selected water control structure.
In this chapter, we move from the basin’s biology to its mechanics. We’ll examine the critical hardware involved—from the precise excavation of drainage channels to the selection and installation of the structures themselves—that allows a manager to run the system effectively. Mastering these components is what elevates a simple pond into a world-class impoundment.
The Drainage System: Getting the Water Out
We’ve already touched on the wildlife benefits of a drainage gutter. Still, its primary function is purely mechanical: it is the actual plumbing that gives you total control over dewatering your impoundment. It allows you to perform a complete and timely drawdown—not just getting it “mostly” dry, but achieving a full system reset.
Even a few apparently insignificant stagnant puddles are enough to prevent valuable, food-producing plants from sprouting. Permanent wet spots can also give invasive species like cattails the opportunity to get established and eventually take over, and that’s definitely not going to say “welcome” to migrating flocks. This makes a well-engineered drainage system an absolute critical foundation for your entire water control strategy.
Slope is Everything
The most critical design feature of your drainage channel is that it must have a continuous, positive slope from the highest point in the impoundment to your water control structure. A minimum slope of 0.1% to 0.2% is recommended. There can be no flat spots or low “bellies” in the channel, or they will trap water and prevent a complete drawdown, rendering the system useless.
Construction and Integration
Fortunately, you don’t need to dig a whole river here. A typical drainage channel is sized to be dug efficiently with a standard excavator bucket, creating a trapezoidal channel 8-10 feet wide at the top and 12-24 inches deeper than the adjacent feeding benches. The most critical and precise construction detail is the connection point: the bottom of the drainage channel must terminate exactly at the inlet of your water control structure. If the gutter is even a few inches lower than the drain’s outlet, you’ll never be able to get that last bit of water out.
Long-Term Maintenance
Pssst: Once you have a precisely dug and integrated drainage channel, remember that it requires regular maintenance. Over several years, sediment will naturally settle and accumulate in the gutter, so plan to clean it out with an excavator every 5 to 10 years to keep it functioning well, depending on the sediment load from your water source.
The Hardware: Types of Water Control Structures
Your water control structure makes “active management” of your impoundment possible. In fact, you may say it’s the keystone of your entire project, since all the other design features are innately dependent on water levels for a perfect habitat. While many structures can provide that control, they generally fall into three categories.
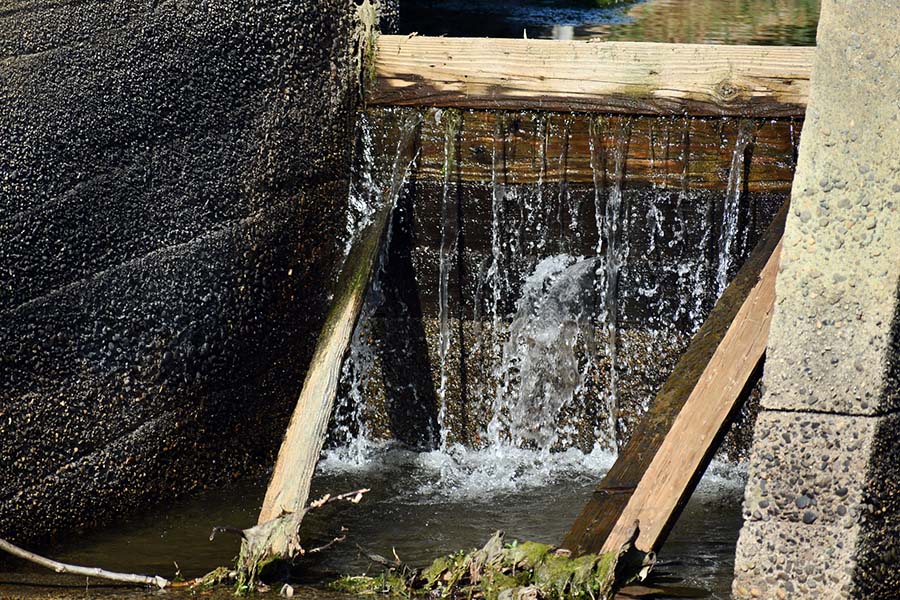
The Flash Board Riser
This is the gold standard and the most common choice for high-performance waterfowl impoundments, and for several good reasons, ranging from affordability to control.
How it works: A flash board riser is a vertical box (often aluminum, steel, or concrete) with slots on one side. You stack boards—called “flash boards”—into these slots to set the water level. To lower the water, you simply remove boards one by one from the top. Since the stacked boards directly correlate to the target water level, changing the water level is a simple matter of “set it and forget it.”
Pros: Flash boards offer a simple mechanism for precise, incremental control, allowing you to easily conduct a slow drawdown of just a few inches per week. The structure also skims water from the surface, which helps remove floating debris and unwanted seeds. They are simple, durable, and very effective.
Cons: The main culprits for problems are beavers, who love to plug the riser with sticks and mud. Keep in mind that the boards can also be heavy and sometimes difficult to remove when under the full pressure of the water.
Best For: Almost all waterfowl impoundment applications where precise water level control is the primary goal.
The Screw Gate (Sluice Gate)
This is a heavy-duty, industrial-style option often seen on larger reservoirs or canal systems.
How it works: A metal gate slides up and down in a frame. It’s operated by turning a large wheel or screw handle at the top, which raises or lowers the gate.
Pros: They are incredibly robust and can handle the high pressures of very large and deep impoundments. They provide a very secure, leak-proof seal when closed.
Cons: They offer less precise control for a slow drawdown. The flow is often more “all or nothing,” and water is drawn from the bottom of the water column, not the top. Since the flow mechanism can only be set to “on” or “off”, partial drawdowns require active monitoring to detect when the target water level has been reached and the gate closed. Screw gates are also generally more expensive, and the mechanism can seize up if not regularly maintained.
Best For: Very large, deep impoundments or situations where a simple on/off function is preferred to a slow, controlled release of water.
The Ball Valve or Gate Valve
This is the simplest option: a pipe running through the berm with a large valve at one end.
How it works: Just like the plumbing in your house, you turn a handle to open or close the valve, allowing water to flow through the pipe.
Pros: It’s often the cheapest and simplest option to install.
Cons: This design has major drawbacks for a wetland. The pipe is highly prone to clogging with cattail roots, sticks, and other debris, which can be a nightmare to clear. Like the screw gate, it draws from the bottom and offers poor control for a slow drawdown. Gradual drawdowns require active monitoring to start and stop the flow at appropriate times.
Best For: Small, clean ponds with very little vegetation. It is generally not recommended for a “messy,” high-performance waterfowl impoundment.
A Note from the Trenches: The Invisible Threat of Seepage
You can spend all this money on a fancy water control structure, but the place it’s most likely to fail isn’t the structure itself—it’s the dirt around the pipe running through your berm. Water is lazy; it will always find the easiest path, and when you dig a trench, you’re creating a perfect little highway for water to seep right along the outside of that pipe. It might start as a tiny trickle, but it’ll carry a grain of sand with it, then another. Pretty soon, you’ve got a tunnel, and your whole berm can wash out from the inside.
You can keep this from happening by using anti-seep collars. You’ve seen them: they’re the flat plates that are welded around the pipe and stick out, blocking the water from sneaking onto that highway.
But there’s more you need to do to keep the berm from failing. When you fill your trench back in, do it in thin layers and pack each one down hard with a mechanical tamper. Don’t skimp on this step: it ensures the dirt around that pipe is just as solid as the rest of the dam.

