
A production pond, no matter how well-engineered, is not a sterile environment. It’s an open ecosystem constantly exposed to airborne spores of competing algae strains, bacteria, and microscopic grazers that can destroy a new culture in days. To achieve success in this environment, the desired algae crop needs a decisive advantage from the very beginning. This makes the process of inoculation, or “seeding” the pond, a critical control point. Whereas a weak or contaminated starting culture stands little chance against this onslaught and will likely be outcompeted, a vigorous, pure, and dense inoculum can establish a dominant biological presence and claim the pond’s resources before invaders can gain a foothold.
Sourcing Your Strain
The first job in the inoculation process is sourcing your strain. For an aspiring entrepreneur, this choice boils down to two paths: attempting to cultivate a wild strain from a local source or purchasing a pure starter culture from a reputable supplier. While scooping up some green water from a nearby pond might seem like a free and easy start, it’s a high-stakes gamble that runs counter to the principle of professional control.
After all, that local water isn’t just algae; it’s a veritable biological soup, teeming with competing algae species, bacteria, fungi, and potentially the dormant cysts of microscopic grazers. Cultivating this mixture is entirely unpredictable, as you don’t know which species will ultimately dominate the culture or even if that species will possess the characteristics necessary for efficient harvesting and processing.
The more conventional (read: professional) approach is to source a pure starter culture from a specialized laboratory or culture collection. A starter culture isn’t just a random sample of pond scum; it’s a specific, known, and pedigreed product. Reputable suppliers provide pure, unialgal (single-species), and often axenic (bacteria-free) stock cultures. These strains have been isolated and maintained under sterile, controlled conditions to guarantee their health and genetic purity.
A carefully sourced culture gets you a known quantity with predictable growth rates and characteristics. Even better, many suppliers now offer advanced, proprietary strains that have been selected or genetically optimized for specific industrial purposes, such as rapid growth, high lipid content for biofuel production, or improved tolerance to temperature swings. This allows you to work with a clean, healthy, bespoke organism that’s carefully matched to the job. A relatively minor investment in a professional culture will yield significant returns in terms of predictability, control, and biosecurity for your entire operation.
The Inoculation Process
Once you have a pure starter culture, you need to scale it up into a volume large enough to seed a production pond. While it may be tempting to pour the small lab culture directly into the massive pond, this would be a costly mistake. The culture would be too diluted to establish itself, and it would be quickly overwhelmed by the native bacteria and wild algae spores already present in the pond.
A successful launch requires a carefully phased scale-up process. The idea is to start by growing a large, dense, and vigorous algae population in a controlled setting before introducing it to the competitive environment of an open pond. This gives your crop a significant head start, allowing it to dominate the ecosystem from the outset.
The standard scale-up process has several stages. Sterile techniques are essential in the early ones:
Stock and Starter Cultures
Begin with the pure stock culture from the lab, which has probably been kept under low-growth conditions to ensure its long-term genetic purity. Using aseptic techniques (like working in a laminar flow hood), transfer a small amount into a larger flask of sterile growth medium to create a starter culture. Place this culture in an environment where it can grow under ideal conditions—optimal light, temperature, and CO2—to trigger rapid, exponential growth.
Intermediate Cultures
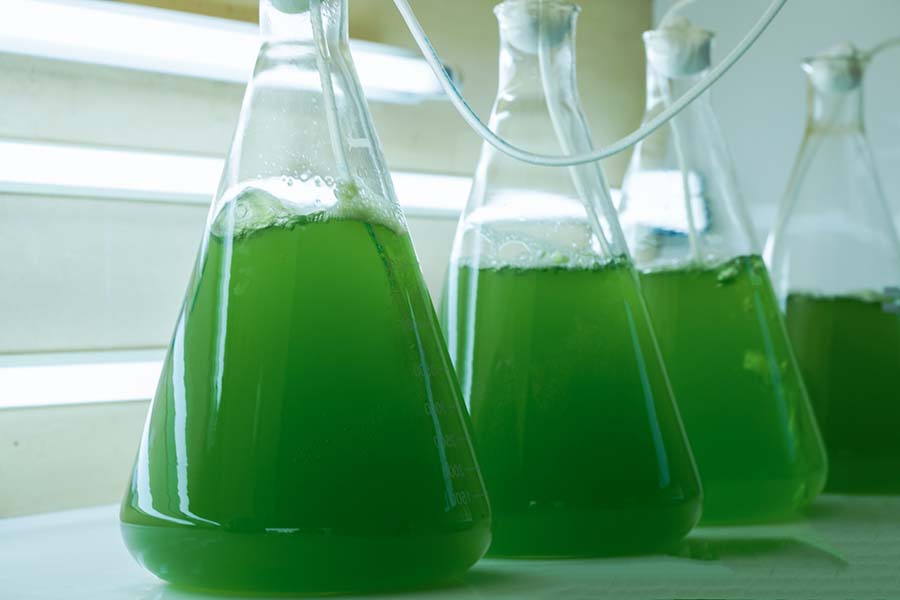
Once the starter culture is dense and thriving, use it to inoculate a series of progressively larger sterile containers. For example, you might progress from a flask to a 20-liter carboy and then from the carboy to a 1,000-liter tank or polyethylene bag. Each step should increase the culture volume by a factor of about 10 while maintaining its health and high cell density.
The intermediate culture is ready for transfer to the main production pond only once it has reached a sufficient volume and density (and not a moment sooner!). As the big new player in the pond, it should immediately outcompete any wild contaminants for nutrients and sunlight.
Production Pond Inoculation
After all these steps, it shouldn’t come as a surprise that inoculation is considerably more nuanced than dumping the culture in the corner of the pond to sink or swim (so to speak)!
Start by gradually adjusting the temperature and pH of the inoculum to match those of the pond water to avoid shocking the culture. This may take a few hours, so you may want to consider moving the culture tanks outdoors overnight to slowly acclimate them to ambient outdoor temperatures. Plan to execute the transfer in the morning so the algae can benefit from a full day of sunlight to acclimate and begin photosynthesis.
If you’ve been feeding the algae with CO2, the pH may be lower than in the pond. Turn off the CO2 supply a few hours before the transfer is scheduled. As the algae consume the dissolved CO2, the pH will rise until it more closely matches the conditions in the production pond.
Once you’re finally ready to go, you’ll need to evenly distribute a volume equal to 10-20% of the final pond volume. It may help to pour it slowly into the current created by the paddlewheel so that it gently seeds the entire system. This high initial ratio is what establishes it as the dominant population from the very start.
Biosecurity During Establishment
Getting a dense, pure culture into the pond is indeed a major victory, but the battle isn’t over. Your biological beachhead must now be defended. Biosecurity in an open pond isn’t about maintaining a sterile environment—that’s impossible. Instead, it’s a continuous process of management and monitoring designed to maintain your crop’s dominance and protect it from the constant pressure of outside invaders.
As in any pitched battle, your first line of defense is a healthy army. A dense, vigorous population of algae growing in optimal conditions is its own best shield. By rapidly consuming available light and nutrients, it quickly starves out most potential rivals. That’s what makes the careful inoculation process so critical; it sets the stage for a crop that can defend itself.
In some cases, you can manipulate the pond’s chemistry to give your crop an even more powerful advantage. Certain commercial strains, such as Spirulina, thrive in highly alkaline water with a pH up to 11. Most contaminating algae and microorganisms can’t survive in such extreme conditions, creating a selective environment where only your crop can flourish.
Beyond managing the culture’s health, simple operational hygiene can prevent the introduction of new threats. Nets, sampling containers, and other tools dedicated to each pond will prevent cross-contamination, as will thoroughly cleaning all equipment. Be mindful of airborne contaminants, as well. Something as simple as noting the wind direction can help you avoid working upwind of a pond and exposing it to the dust and spores that collect on your clothes and equipment.
Finally, nothing replaces vigilant monitoring. Check the culture under a microscope daily. The goal is to spot the very first signs of trouble, such as the appearance of a few microscopic grazers, like rotifers. Catching an infestation early provides an opportunity for corrective action. That’s why daily checks are so critical: once a population of grazers is established, it can destroy an entire culture in a matter of days.
Note from the Trenches: A “Biosecurity Checklist” for Inoculation
The biggest mistakes on inoculation day are simple and avoidable. Professional habits are what separates a successful launch from… the ones that aren’t. Give yourself a head start by running through this checklist every time.
- Match Your Water First: Before the transfer, match the inoculum’s temperature and pH match to the pond water to prevent shock.
- Check the Wind Direction: Always work downwind or crosswind of the pond. This keeps the wind from blowing dust and spores from your clothes and equipment directly onto the culture.
- Use Clean, Dedicated Gear: Use nets, buckets, and samplers that are dedicated to a single pond to eliminate cross-contamination. If that’s not possible, thoroughly clean and disinfect all equipment before use.
- Inoculate at Full Strength: Don’t dilute your advantage. Use an inoculum volume equal to 10-20% of the final pond volume to ensure your crop dominates from the start.
- Begin Monitoring Immediately: Your daily microscopic check for grazers and contaminants begins the moment the culture is in the pond. Don’t wait.
Looking Ahead
With the culture now established and defended, the daily management grind begins. The goal has shifted; now, it’s time to focus on maximizing productivity. The next chapter covers the day-to-day science of “farming” the bloom, detailing how to manage nutrients, CO2, and pH to keep the culture healthy and growing at its most rapid, profitable rate.

