
In Chapter 7, we used advanced diagnostics to isolate an invisible leak. Now, it’s time to eliminate it.
The traditional advice to “drain, clean, and patch” is outdated and, frankly, dangerous for a mature pond. We’re operating now under a different protocol: surgical repair. Since our goal is to fix the breach with minimal disruption to the water level, the biology, and the livestock, we’ll cover three specific protocols for underwater repair. The best method for you depends on the location of the leak and the materials involved.
Wet-Welding (The Gold Standard)
If your hole is under the water line, draining the pond to reach it can be stressful for the fish and risks destabilizing the pond walls and plumbing. You can patch it wet, but physics is against you.
The Chemistry of Failure
If you try to use standard EPDM cover tape or a peel-and-stick patch underwater, it will fail. These products rely on solvent-based primers to chemically fuse with the rubber. The problem is that in a full pond, you can’t use these primers. First, the liquid solvents (often Heptane or Toluene) are highly toxic to fish until they evaporate. Second, they can’t evaporate underwater. Without the primer curing, the tape won’t bond.
The Solution: MS Polymers
To fix a leak without draining, you need a different class of adhesive entirely: Modified Silane (MS) Polymers.
The Science
Unlike silicone (which often releases acid as it cures) or polyurethane (which can contain toxic isocyanates), MS Polymers are generally solvent-free and neutral cure.
The Magic
Crucially, MS Polymers are moisture-curing. They actually use the water to trigger the chemical reaction that hardens them. This makes them the only adhesive safe to apply while your fish are swimming right next to your hand.
Pro Tip
Look for products specifically labeled as “Pond Sealer” or “Underwater Sealer” that specify MS Polymer chemistry.
The Butter Technique
Applying a wet patch is an art form. If you do it wrong, it will slide right off.
- Scrub: Algae is your enemy. Scrub the liner area with a coarse pad (like a green kitchen scourer) until it feels squeaky clean. Don’t use soap or surfactants.
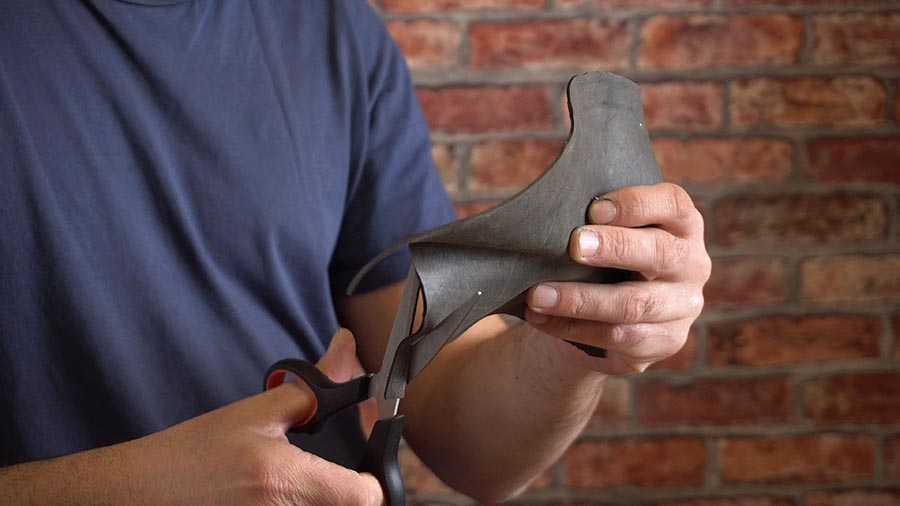
- Cut: Cut a rounded patch of EPDM liner (corners peel, circles don’t).
- Butter: Apply a thick, continuous bead of MS Polymer to the patch, not the hole. You want a zig-zag pattern that covers the surface.
- Press: Press the patch against the leak. Do not squish it flat. You want to leave about 2–3mm of adhesive thickness between the patch and the liner. This adhesive layer acts as a gasket.
- Smooth: Gently smooth the edges to ensure a seal, but don’t force the glue out.
The Caisson Method (The Shelf Solution)
Sometimes, a wet patch isn’t enough. If you are dealing with a tear on a shallow shelf or step—often caused by a raccoon or a heavy plant pot—you might need a dry surface to get a stronger bond.
The Limitation
Since this trick relies on gravity and geometry, it only works on flat, horizontal surfaces (shelves/steps) that are shallow enough for the rim of your container to sit above the water line. It doesn’t work on vertical walls or deep bottoms.
The Tool: The Bucket Caisson
Cut the bottom out of a rigid 5-gallon bucket. Glue a rim of soft, closed-cell foam (like pipe insulation) around the bottom cut edge to create a gasket against the liner.
The Execution
- Position the bucket over the leak on the shelf. The top rim must be sticking out of the water.
- Push down firmly. The foam gasket will conform to the irregularities of the rock or folds in the liner. Note: You may need a helper or a heavy weight to keep this pressure constant.
- Use a shop vac or a small hand pump to remove the water from inside the bucket, then wipe the exposed circle of liner with a lint-free cloth. You now have a dry, 10-inch circle of liner.
- Since space will be tight, you won’t be able to fit both hands in. Scrub the area clean, prep your patch outside the bucket, and then reach in to apply it.
- If you use solvents or primers, wait for the smell to dissipate entirely before removing the bucket.
The Injection Fix (Pipe Boots & Flanges)
A pond owner’s most dreaded leak is a bottom drain or pipe boot that is failing deep underwater. The leak usually happens behind the plastic faceplate, where the liner is sandwiched against the plumbing.
The Trap
Your instinct will be to grab a screwdriver. Resist!
- Do not tighten the bolts: Old plastic faceplates get brittle. If you crank down on them, you’ll crack the faceplate, turning a slow leak into a catastrophic one.
- Do not unbolt the flange: If you loosen the bolts while the pond is full, the gasket will shift, sand will get in, and you’ll never get it sealed again without draining the entire pond.
The “Hail Mary” Protocol
Instead of disassembly, pressure injection is your only feasible option. You’re not trying to find the specific point of failure; you’re forcing a new liquid gasket into the entire perimeter gap without removing a single screw.
The Tool
- A standard caulking gun.
- A tube of MS Polymer sealant (Fish-Safe).
- Optional: A small piece of tubing added to the nozzle tip to reach deep into a corner.
The Execution
- Clean the edge of the faceplate with a stiff brush to remove algae. You need a clean junction where the plastic meets the liner.
- Cut the nozzle of your sealant tube at a sharp angle. Press the tip firmly against the junction where the faceplate meets the liner.
- Squeeze the trigger hard. You’re trying to force the sealant against the seam so it penetrates any microscopic voids, while simultaneously laying a thick bead over the joint.
- Slowly trace the entire perimeter of the flange, keeping constant pressure on the trigger. You aren’t looking for the leak; you’re sealing the whole ring.
- Run your finger over the bead to smooth the exterior edge and ensure a continuous seal.
Final Thoughts: The Rule of Three
We’ve covered several advanced techniques to save a liner, but it’s only fair to end with a word on when not to save one.
All materials have a lifespan. If you find yourself repairing the fourth leak in a single season, or you can see clear signs of material degradation, repairs are no longer the answer. At that stage, the liner has reached the end of its chemical life. No amount of MS Polymer can fix old age. But until that day comes, these surgical techniques will keep your ecosystem thriving and your water where it belongs: inside the pond.

