
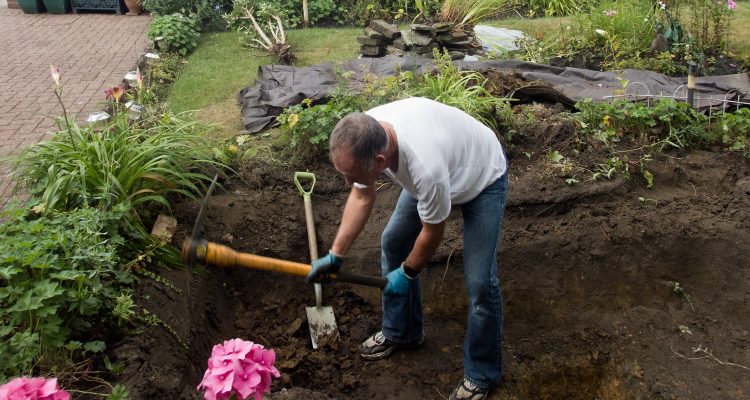
Building a water garden yourself takes some research, a good back, and knowing some tried-and-true water garden construction tricks. How to Dig
- At least a couple of weeks before you dig, contact your city or other local government to have pipes, cables, and lines flagged or marked. This prevents you from hitting them with your spade and cutting off service or harming yourself. In any U.S. state, just call 811. The service is almost always free.
- Mark the outline of your water garden with spray paint or a garden hose to guide your digging.
- A few days before you plan to start excavations, dig an exploratory hole or two at least a couple feet wide and as deep as your water garden will be. This will let you determine if there are many rocks, clay, hardpan, or roots to deal with and allow you plan accordingly.
- If the area has a number of large roots, use a mattock, a long-handled lopper, and a small saw to work through the roots. But be wary of cutting through too many. It can weaken or even kill nearby trees or shrubs.
- If you have hardpan or heavy clay soil, soak the soil with water thoroughly the day before to soften the clay. If the soil is very dry, you may need to water twice in two days.
- In heavy or hard soils, use a fiberglass handled round-point shovel. It won’t break as easily. In severe clay or hardpan, consider a pick axe.
- For large projects, consider renting a backhoe or other equipment.
The Importance of Level Water always lies level, so it’s critical that your water feature also be level. Otherwise, the water will appear to slope unevenly. As you work, constantly check level.
- Use the right level for the job. The longer the level, the more precise it is over a distance. For most water garden projects, use a level at least 36 inches long.
- An easy way to check level with smaller projects is laying a long, straight board across the hole with a level positioned on top. Use soil from the excavation to adjust the soil to achieve a level edge.
- For larger projects, you can stretch string across the hole, taut, and use a line level or hold a level along the string. But this method isn’t always as precise as you need. A laser level can be pricey, but you can use it for many other projects.
- Check level with all aspects of the project, including a skimmer, waterfall unit, or weir.
- As you work, tamp down sand and soil evenly. The weight of the water and stones can settle soil by as much as an inch. Tamp down firmly and evenly to make sure your water feature isn’t level when you install it, but then settles unevenly over time.
What to Do With Excavated Soil When you dig a hole, you can create a surprisingly large volume of loose soil. What do you do with all that dirt? It’s smart to determine what exactly you are going to do with all of that soil before you dig, rather than after. Otherwise, you’re stuck with a problem pile of dirt that can turn into a muddy, runny mess if heavy rains hit. Depending on your design, you can use some of it to level the area around the water feature or to create a grade for a stream of waterfall. Otherwise, good quality topsoil can be spread elsewhere around the landscape, including shaping raised beds and berms. Subsoil—the lesser-quality soil that lies underneath the topsoil—is usually laden with clay or is otherwise less desirable for growing things. In most cases, you’ll need to dispose of it. As you dig, pile the soil to dispose on your driveway or other paved area. Or spread a tarp out on the grass to pile soil onto. (Just be sure to remove the tarp after 2 or 3 days or you’ll kill the grass.) Waste disposal services sometimes will provide a special oversized dumpster box for soil disposal. Or check online ads for “fill dirt” or post online that you have free fill dirt. Someone may take it from you for no charge. Otherwise, call around to excavation, contracting, or landscaping companies about hauling it away for a fee. Stay tuned for the next blog on, Choosing a filter. Contact us with any questions!

